Thursday, April 29, 2010

Ribbon Headband


***Sorry! A lot of the pictures are blurry! I was in a hurry and apparently had a shaky hand today!

Step one- Spray hair with water or detangler so hair is slightly damp. Make a part from ear to ear but make sure its not too far back on the head because you will be doing another row behind this one.

Step two- Part hair and make six ponies across the head. Three on each side.


Step three- Make another part about an inch and a half behind the first row of ponies. Then make six more ponies right behind the front ones. Do not attach the front ponies with the back ones yet!!

Step four- Hair spray the front part of the hair now before you add the ribbon. The hair spray leaves spots on the ribbon. Then have her hold the front six ponies while you place the ribbon on the head in between the two rows of ponies. I like to use 1/2" ribbon.  It seems to look the best.  Skinnier or fatter ribbon doesn't look as good. Just my opinion!


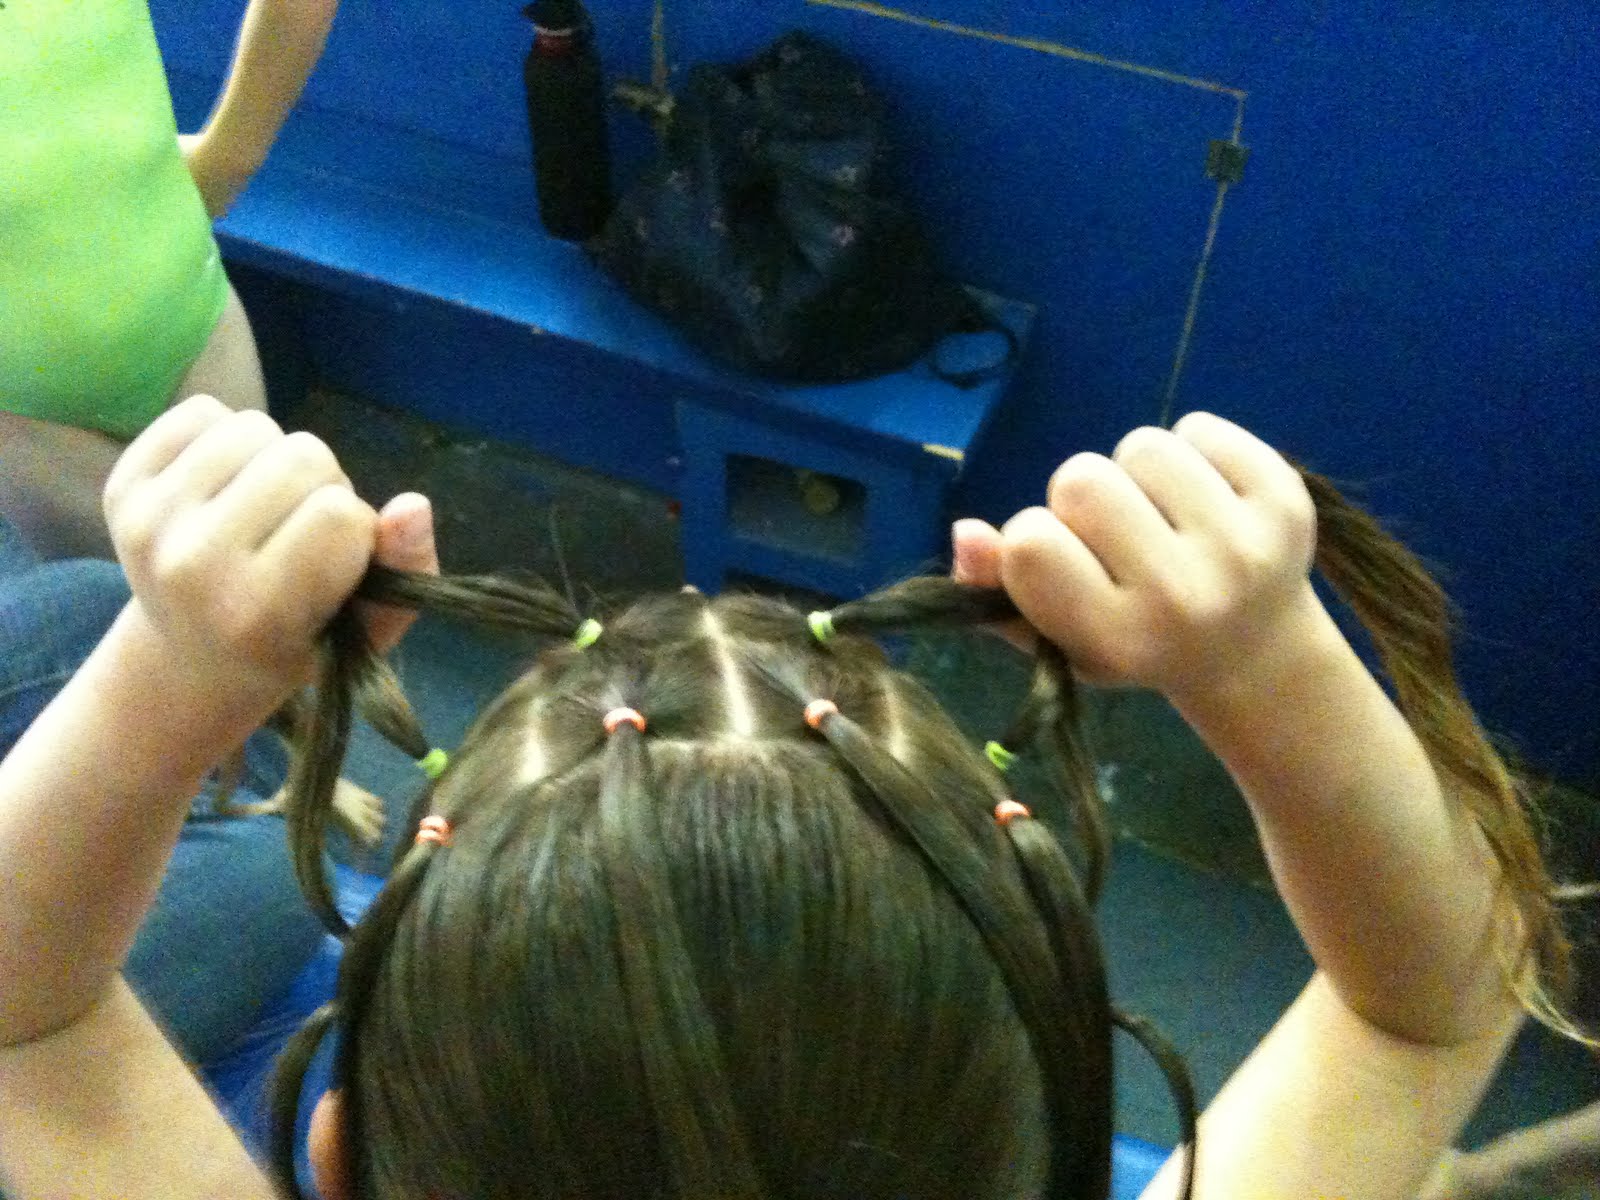
Then have her hold the ribbon ends while you take the front ponies and pull them back over the top of the ribbon and attach them with another elastic to the back ponies.

Step five- Take the extra ribbon and twist it together with the end pony on each side. Use an elastic to hold it together when your done twisting.

Step six- Then part the rest of the hair down the middle and pull up each side into pig tails. You can pull the twisted piece with the ribbon up with the rest or add it to the pony later with another elastic.

Step seven- Twist the hair from one pony all the way down. Wrap the hair around your fingers in a circle and pull the hair through the middle like you would tie a knot. Twist the end of the hair and pull it up. Put an elastic around the bun to hold the end of the hair in the bun. This will leave a little piece sticking out. If you don't like this look you can wrap it around the bun and pin it or clip it down. I just leave it out.
The two buns shown here are different. The one on the right I did the bun with out the piece of hair that was twisted with the ribbon. Then I pulled that piece in at the very end and just wrapped the extra ribbon around the bun.
The bun on the left I pulled the ribbon piece of hair up with the bun and twisted the ribbon right into the bun.

Here is a video that shows how I make a knot bun!


Looks like this when its all finished!


Thanks to hair model Whitney!

Tuesday, March 9, 2010

Criss Cross Braids

This is a simple and adorable hair do.  I'm not going to go throught the steps because I think you can get it from the pictures.  Leave a comment if you have a question!


Thank you, hair model Angelina

X-out with twisties

Step 1-  (Best results if hair is slightly damp)  Make a part across the top of the head from one ear to the other.  Then part it down the middle.  Pull the rest of the hair into a ponytail to keep it out of the way.

Step 2-  Make 2 ponies on the left side and 2 ponies on the right side. You should end up with 4 evenly spaced ponies.

Step 3-  Make another part across the top of the head just behind the first one. Try to make the first part the same width as the first one.

Step 4-  Make 4 more ponies directly behind the first ones.

 
Step 5-  Take the front 2 ponies on the left and cross them twice so they make a small twist.  Try to keep the twist in the center of the part. Attach the ponies to the ones directly behind.  I use a clip to hold one side of while I attach the other. Or you can have her hold it for you. Repeat on the other side.


It should look like this when you finish both sides!


Step 5- Take the 2 ponies on the right side and spray them so they are damp.  Twist both ponies to the right. While you are twisting cross the RIGHT pony OVER the left one.  Keep twisting as you cross them.  When you get close to the end secure them with an elastic. Repeat with the 2 ponies on the left side of the head.


Step 6-  Let the two twisted ponies hang while you fix the rest of the hair into a tight ponytail.  Then twist the ponies a little more so they stay tight and attach them it the middle to the large pony.


Thanks to hair model Addy!!


Wednesday, October 7, 2009

Twisted Ponies

Step 1-  Spray hair with water or detangling spray. (Always!) Make an ear to ear part. Not to far back on head.


Step 2-  Part hair in the middle and then make two small ponies on the left and two small ponies on the right.


Step 3- Take the two ponies on the left and cross them twice so they make a twist. Have her hold them while you do the next step.


Step 4-  (Sorry, I got a little distracted and forgot to take a picture of this next step) I will explain it.
Make a small pony directly behind one of the front ones and attach the hair from the front pony into the back pony. Keep the twisted piece of hair you are adding a little loose.(Have her still hold the other piece of hair)
Then make a small pony directly behind the other pony and attach the hair from the front pony to that pony.
Here is a picture of what it should look like after these two steps.


*** Repeat the above steps with the two ponies on the right side.


Step 5-  Make two longer ponies on each side of their head so that elastics match up with the back ponies from the twisted part.


Step 6-  Pull the rest of the hair into a pony tail, bun, or pig tails!


Thank you, hair model Natalie


Inside out ponies

Step 1-  Spray hair down with water or detangling spray. Part hair from one ear across head to the other ear.


Step 2-  Make a diagonal part from left to right. Then divide left side of part into a triangle and secure with elastic.  Place your comb tail (or hair flip tool, if you have one) through the pony tail, under the elastic.  Separate hair with fingers and flip the pony up through the part and pull it down through the bottom.


Step 3- Make another triangle pony with the remaining hair on the left side.  Part the pony with comb and flip it through like shown above.


Step 4-  Move to the right side of head.  Make a triangle part and secure with an elastic. Repeat above steps and flip pony through.


Step 5- Make another pony with remaining hair on right side.  Flip through. You should end up with 4 ponies.


Step 6- Part the remaining hair down the middle.  Take the hair from the top left pony and comb it into a pig tail with the hair on the left side.  Leaving the far left pony out.  Repeat on the right side.  Attach only the hair from the center ponies in with the pig tails.


Step 7- Cross the two side ponies and attach them to the opposite pig tail. (You can braid the ponies also, if the hair is long enough to reach)  Attach crossed hair to pig tails.
Hairspray, hairspray, hairspray!!!


Thank you, hair model Angelina!

Wednesday, September 16, 2009

Triangles

 
Step 1
Begin by spraying hair with detangling spray or water! Using the tail of your comb, part the hair from ear to ear. (you need a wider section of hair, so make part a little behind the ear)
Pull the remainder of the hair back into a pony tail to keep it out of your way!
Then part hair into four triangles as shown above!

 
Step 2
Part the hair down the left side into small rectangle ponies.
Do the same with the hair on the right side.
 
Step 3
 Attach the pony from the left side triangle to the first rectangle pony with another elastic.
Then do the same with the right side!  

 
*** Also attach the pony from the front triangle to the pony from the back triangle with  another elastic!
(Sorry no photo, but you can see it in the final photo, if you need to)

 
Step 4
Take the last pony on one side and attach it to HALF of the next pony with an elastic.
Then attach the other half of that pony to HALF of the next pony with an elastic.
Continue this across the head to join with the last pony on the other side.

Step 5
Flip the webbed part of the hair forward while you spray the rest of the hair with water or detangling spay.
Comb the hair into a tight pony tail or pig tails.

Step 6
Flip back the webbed part and add it into the other pony.  (you can use two elastics if you need to. it's easier to keep it all tight that way)
Hairspray, hairspray, hairspray!!!

 
 The finished look!
Thank you, hair model Gabee!